

Wherever, whenever there is a forest and a family in the same sentence there’s bound to be mention of a den building as a family get together activity. I really love dens, heck my dream house is a Hobbit home, and my kids love building them but when opportunity presents itself our den building is more like warfare then a family activity. Or maybe it’s a family warfare type of activity ?!
When this ‘family get together’ starts, I usually quietly slide into the forest ‘to look for sticks’ and leave ‘the men’ to get all their alpha things out and about. It may be just a girl thing because Lilo is also always positioned on a safe distance from the ‘den front’.
Ok, I admit, at some point the team building does evolve from characteristic brotherly fighting whose branch/stick/pile should go where, and who is a better builder.
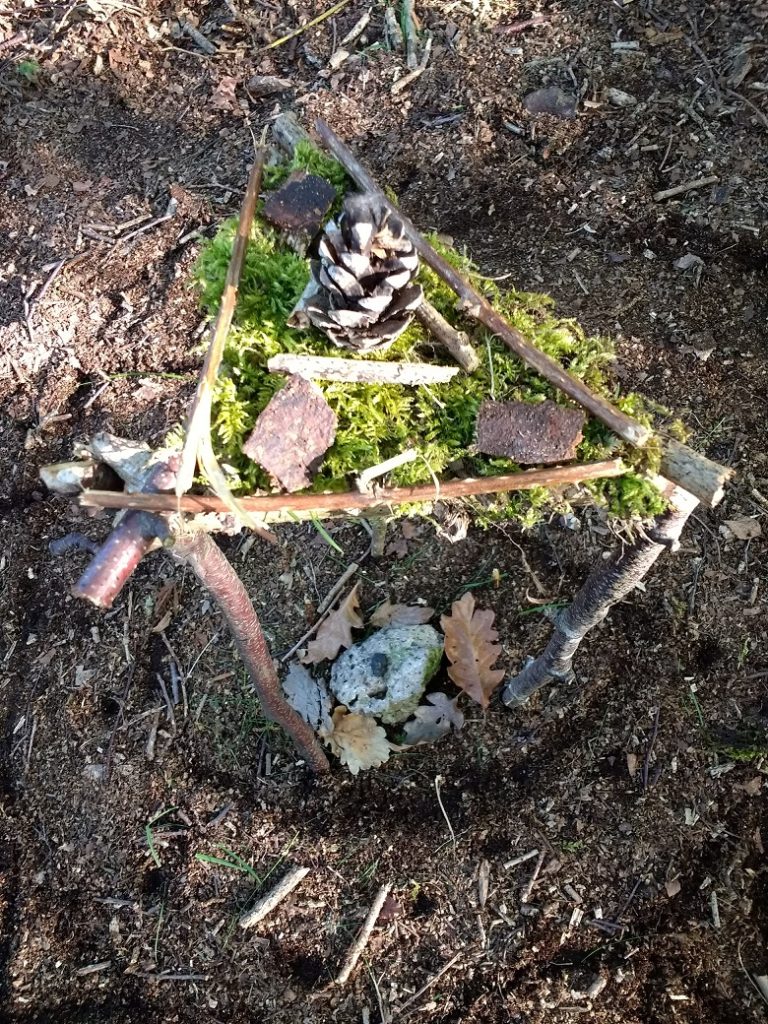
When the construction, or skeleton, is up and standing I bring all the materials collected for the interior and exterior design (boys are awesome in arranging den to be all hobbitlike) and then finally we can all relax around the fire. Now that’s when the real family fun starts. It might also be connected to our love of food. Again, much like Hobbits. Or a shrew.


Building, starting, making, maintaining, extinguishing and all other – fire related activities are by far my kids favourite. I understand them completely. My fav part is scent of fire. Honestly, I could go not washing my hair/clothes for days after we go on these forest adventures just to keep that scent close.
Nothing is too hard to do when fire and dens are involved, and the speed of learning about it can easily be compared to the speed of light. For me what’s important is that they feel in control no matter what. Being able to keep themselves safe and warm is exactly that.
As pater familias is a scientist and a diy pro, we don’t have, luckily, that many mistakes to learn from, only a few pointers on what worked best for us.
Building a den
Now if you are building a den as a family get together activity it really doesn’t matter where you position your den. But in case you would like to make it more survival friendly good positioning would be with entrance facing the south – to get as much sunlight and warmth inside the den, and in case of strong winds – keep them behind the den.

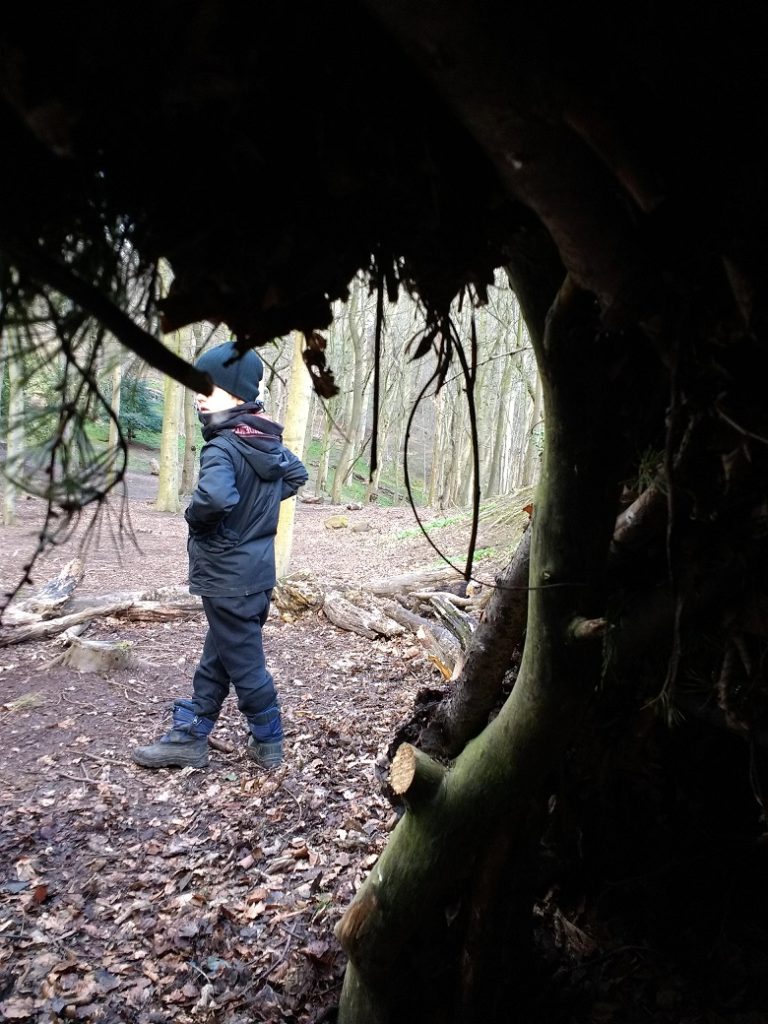
Where possible use trees that already make a great frame for your den and allow the shape of the den to fit that frame. Make sure the branches you’re using are wedged into your tree, so they don’t move easily, especially when kids are smaller and unaware of fact that the branch might fall if you run into it or just brush it with foot or hand. Same goes if you are building a den by making frame from scratch. Easiest variation is leaning sticks against a tree like a wigwam.
Once you’ve placed all big branches, start filling the walls – smaller sticks, leaves, mud, moss – the more cover, the warmer and drier den. With the interiors it all up to your creative side and interior design skills. 😊
Fire
Important part of the den is of course – fire. Keeps you warm, you can cook on it or just stare and contemplate on life decisions. And here I must admit my idea of making fire was very simple – put some sticks together and light them on fire. In real life the conditions, specially in Scotland, are not always that perfect/or dry enough to make it simple. Lucky for me this is one of rare things where my boys show unbelievable patience and watching them learning from their dad has been as fascinating as getting lost in the warmth of the flames.
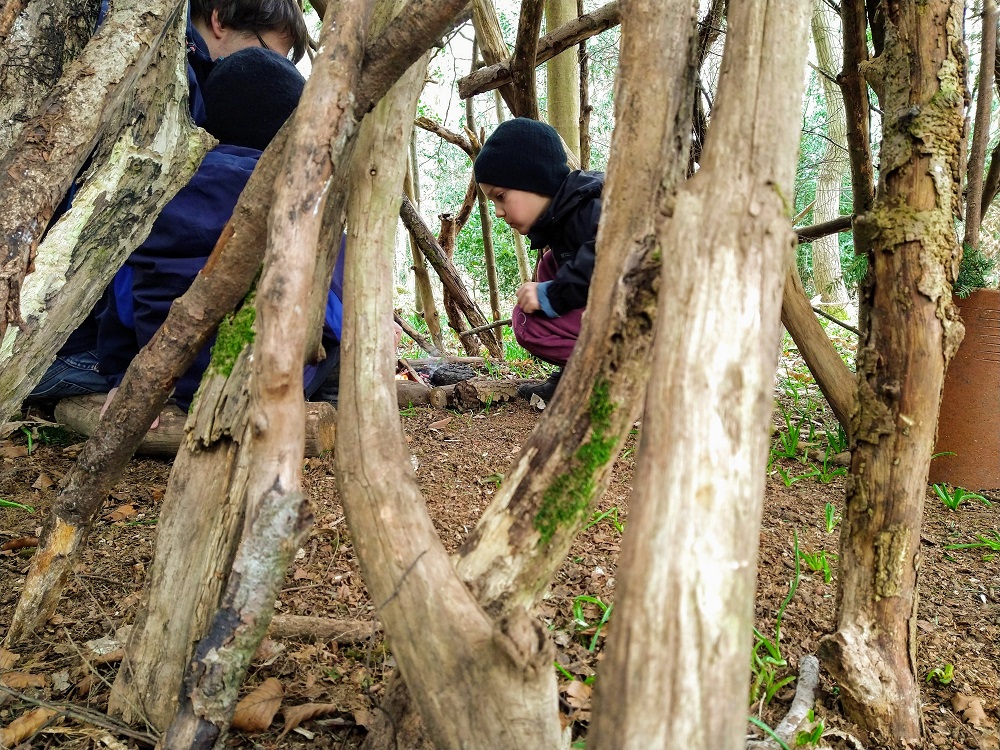
For your den fire – if stones are available perfect, if not you’ll have to build a structure for cooking. Keep it small and always, always make sure the fire is out and there are no traces left.
The way we usually do it is digging a hole in the ground and circling it with stones. For fire get some small twigs and dry leaves – they go into the centre of the pit; then arrange smaller sticks – easiest is in a shape of a tent just above the pile of leaves and twigs, and you can ignite the pile. If the leaves or sticks are even a bit wet this might not be as easy as one would think, so best to have cotton wool or tissue paper to help. Once the fire is going you can start adding larger pieces of wood.
Our easy to make and beloved on fire ‘lunch’ is pizza sandwich. Just pop whatever you love on a pizza in a bun or baguette, roll over alum foil (two times) and grill on hot stones, ash or branches for few minutes. Not in direct fire. Apart from the traditional marshmallow on fire dessert, one we like to stuff ourselves in (and again, super easy to prepare) are campfire baked apples.
Make a hole in the centre of the apple, fill in as desired (cinnamon, vanilla, chocolate, nuts, butter…), roll into alum foil, bake for around 5 minutes and yum…
After enjoying the fire make sure you extinguish your fire totally. If possible allow the wood to burn completely to ash, then pour water until it stops hissing. And here is where having a fire in a hole comes handy – you just bury it all with dirt. Leave only when everything is cool to the touch and clear the area.
And leaving is my least favorite part, because once you move away from the shelter and fire it feels so very cold…brrrr…dreaming of my own hole in the ground in a Shire.